
In this episode of the Fine Art Photography Podcast: all about the historic tintype process
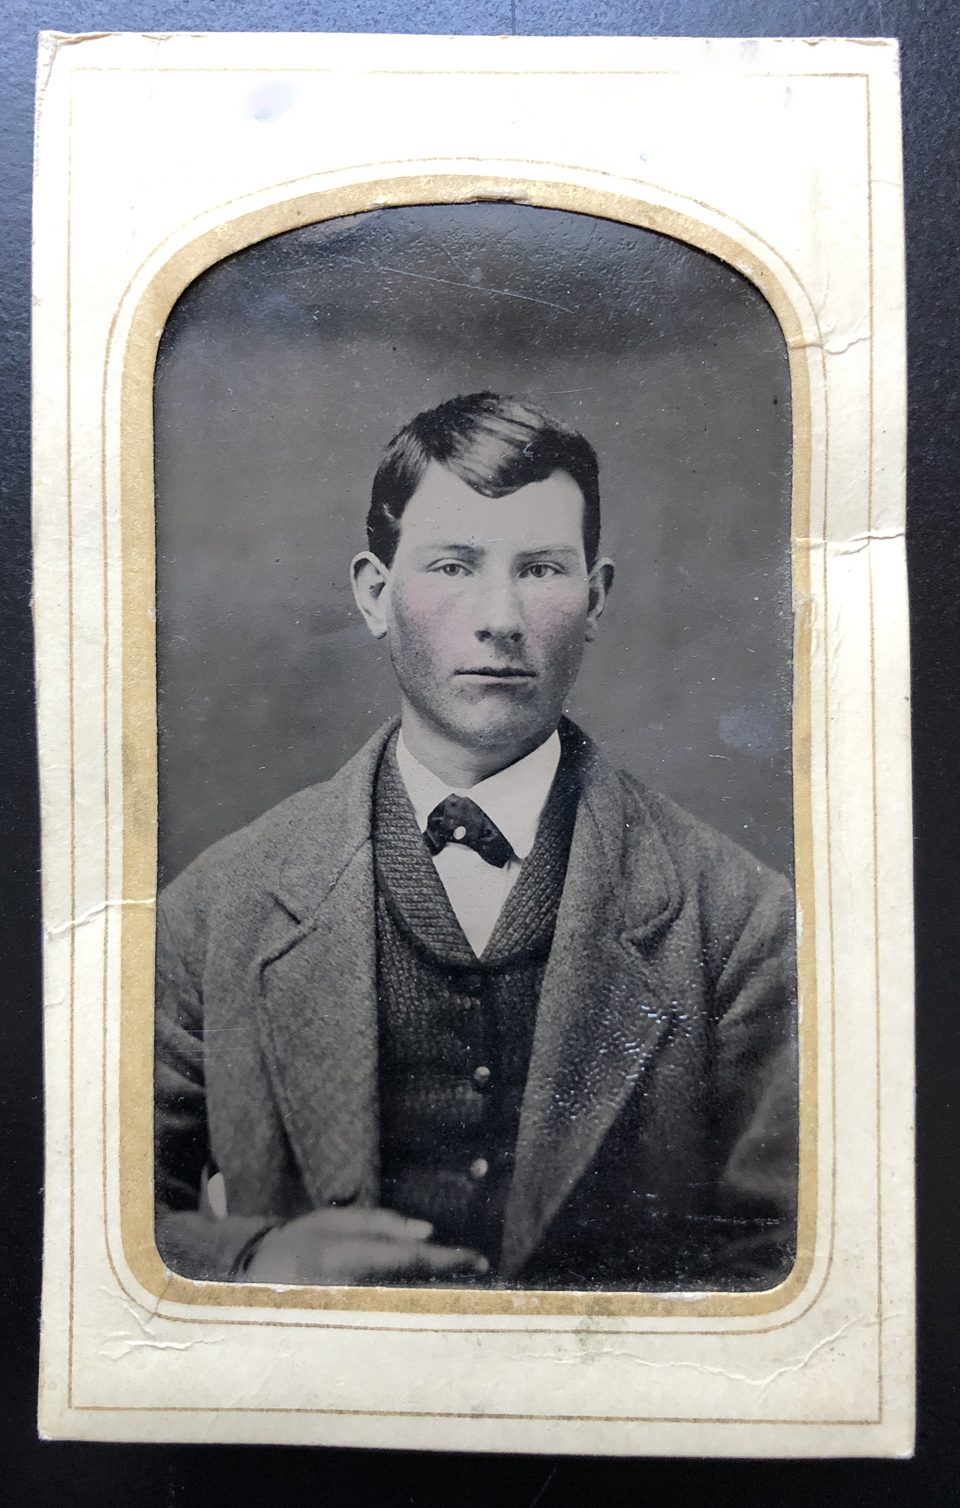
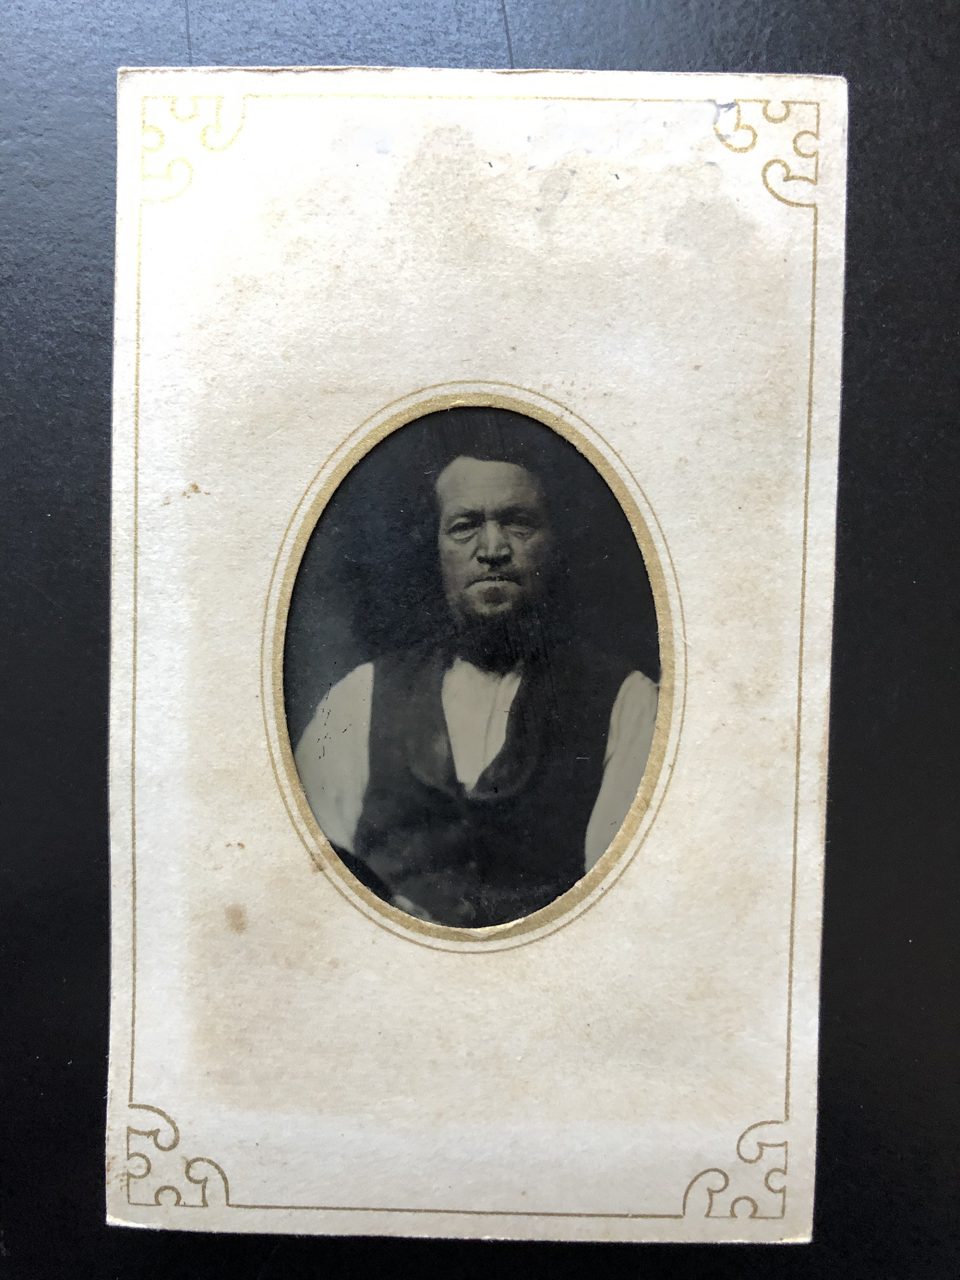
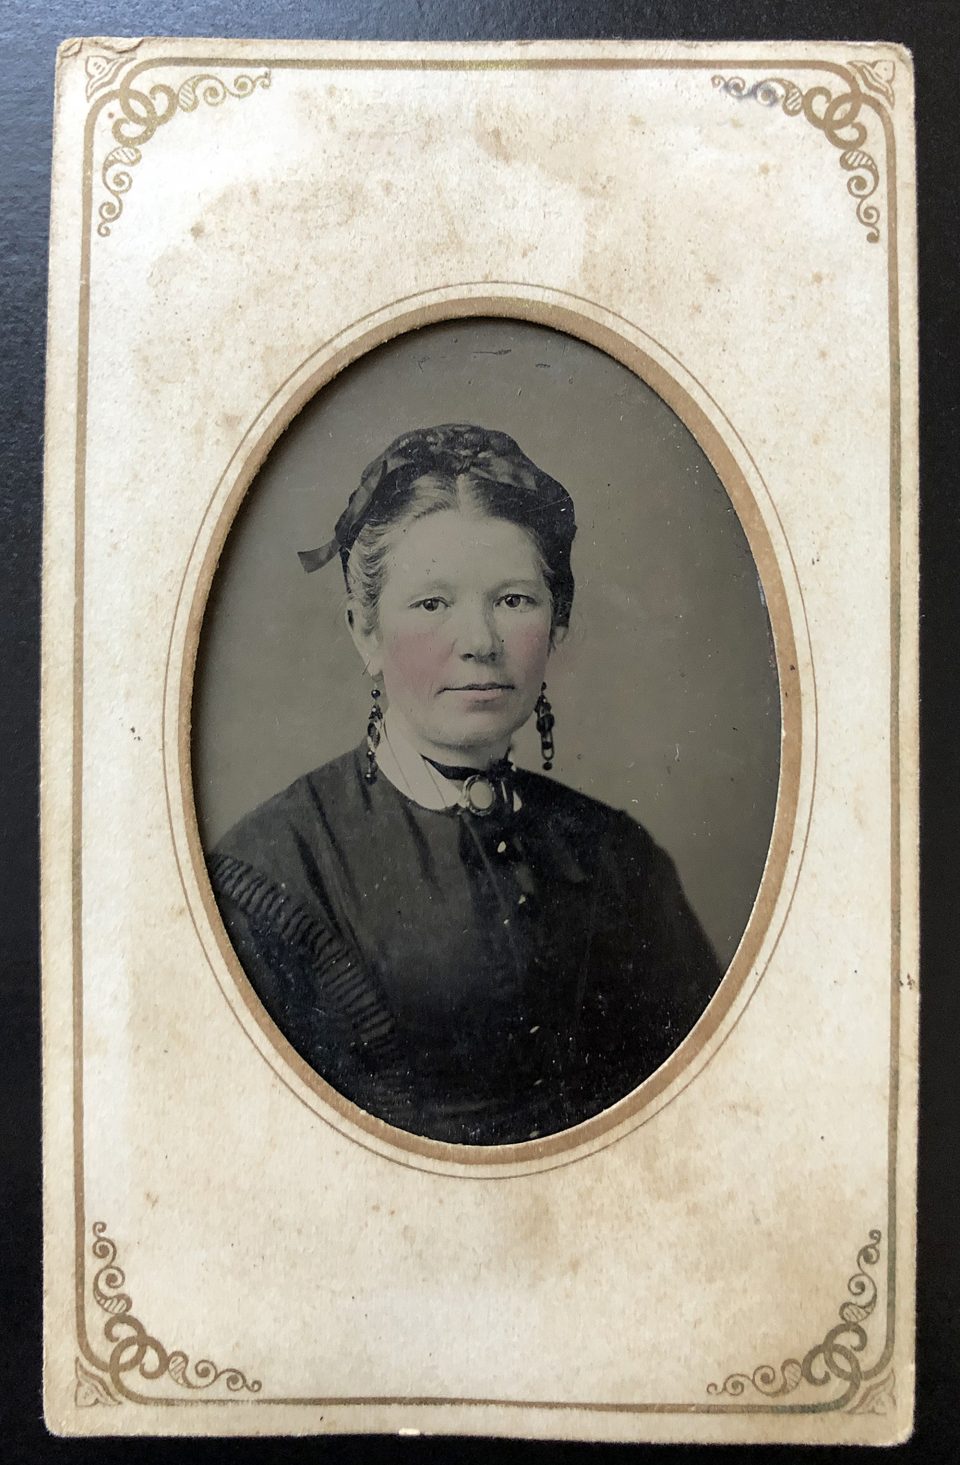
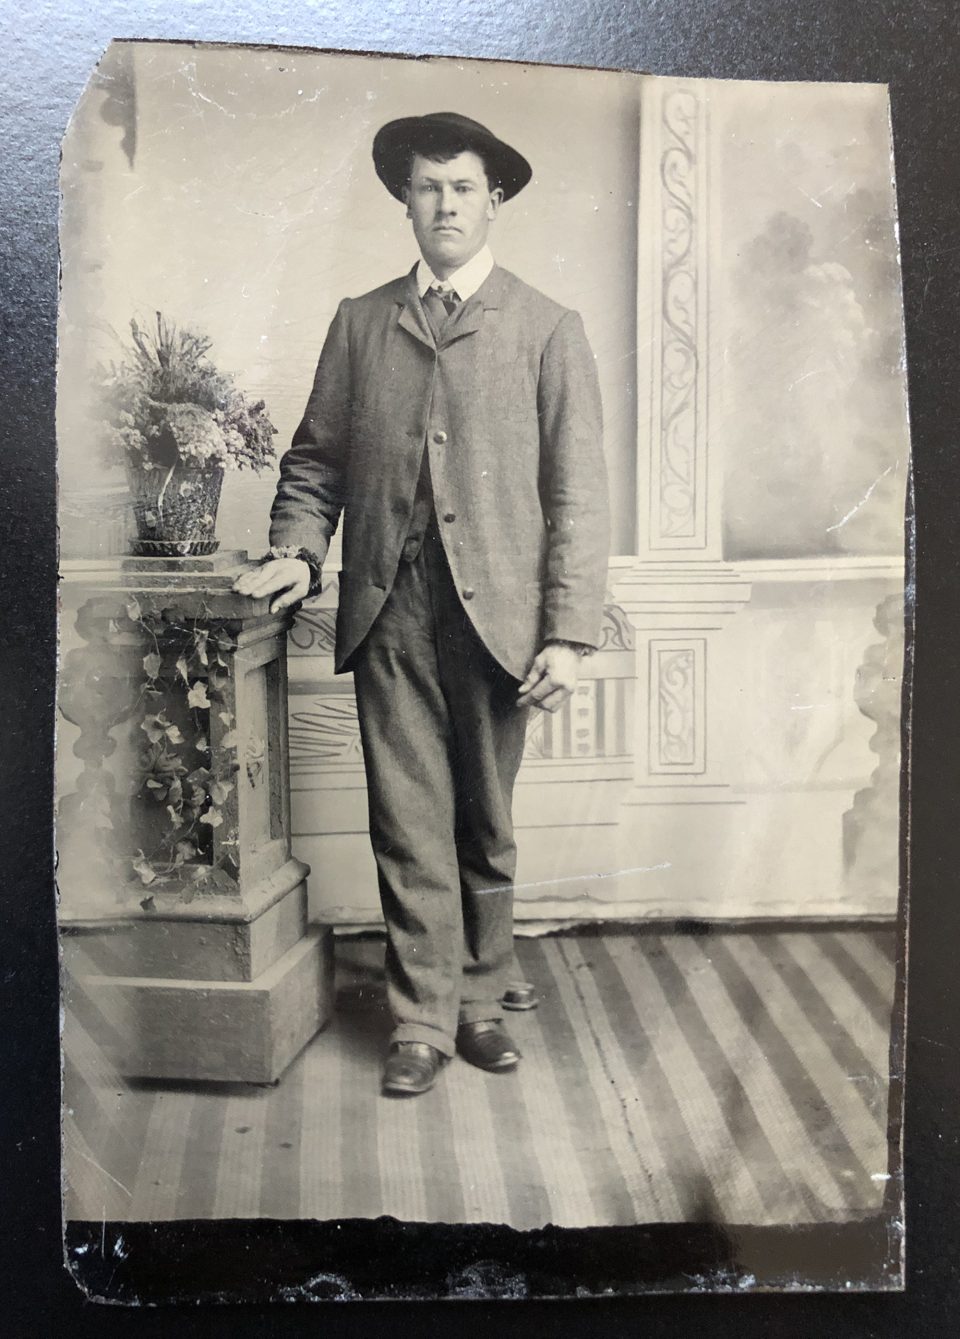
Sample Images of Antique Tintypes
Full episode transcript
In this episode of the fine art photography podcast: all about the historic tintype process
Intro music
Hey everybody — welcome back to another edition of the fine art photography podcast. In this episode, a continuation of our occasional series about historic photographic processes. In this episode — the tintype. These episodes are intended as a resource for students, and as a backgrounder for collectors.
Previously, we’ve had several episodes about the Daguerreotype process. And we made a deep dive into the albumen prints, even using contemporaneous sources to describe how to make albumen paper. Be sure to check those out if you haven’t heard them.
The tintype, as it was popularly called in its era, was also known as the ferrotype and the melainotype.
The process was first defined in France in 1853 by Adolphe-Alexandre Martin. It was patented in the US and in the UK in 1856. Even though this is a historical process, tintypes are still being made today as a niche process.
A tintype is a direct original print made on a very thin and typically quite small sheet of iron — not actually tin — hence the other name ferrotype. A direct oiginal means that the print is made directly onto the final piece of metal, with no intermediate negative. Ambrotypes were popular prior to tintypes — and that was a process with the photograph made onto a sheet of glass, then backed with black to reveal the silvery image on the glass. If held in the original case behind a sheet of glass, a tintype can sometimes be hard to distinguish from an ambrotype.
While beautiful, ambrotypes obviously being on glass — were quite fragile, whereas tintypes have proven to be durable.
Many more tintypes exist today than Ambrotypes, and they can be found in antique shops for a bargain. I recently purchased a handful of beautiful 1870s and 1880s tintypes for $8 each. They’re all portraits, and that’s what you’ll find — photography in those days was primarily a portrait business. The rise of affordable and comparatively easy tintypes timed perfectly with the American Civil War. Families wanted portraits of their boys going off to war. Soldiers wanted pictures of their wives or girlfriends to carry in their pocket as they marched off to battle.
Because they were durable, many of our important surviving photographs from the later half of the 1800s are tintypes.
In fact — the most famous photograph of Billy the Kid — which was until recently also the only known photograph of him — is a tintype. And what I think is cool about tintypes, is since they were portraits and were a unique original, more than likely they were held in the hand of the subject — in other words, Billy the Kid held that portrait in his own hands. That’s almost certainly true of all tintypes — at some point the person in the photograph also held that very same photo in their hands. I think that’s a pretty cool direct connection to the past.
Even though considered less detailed and beautiful than the older and more complex Daguerreotype process, to me tintypes are still quite stunning. I’ve made high-resolution scans of tintype portraits no larger than a business card, and I’m stunned by the amount of detail and clarity captured in those small images.
I said that a tintype is a unique original — no intermediate negatives, meaning that it would be the only one. A one of a kind.
But that’s not exactly true. Thanks to an ingenious development in 1858, the Gem Ferrotype was born.
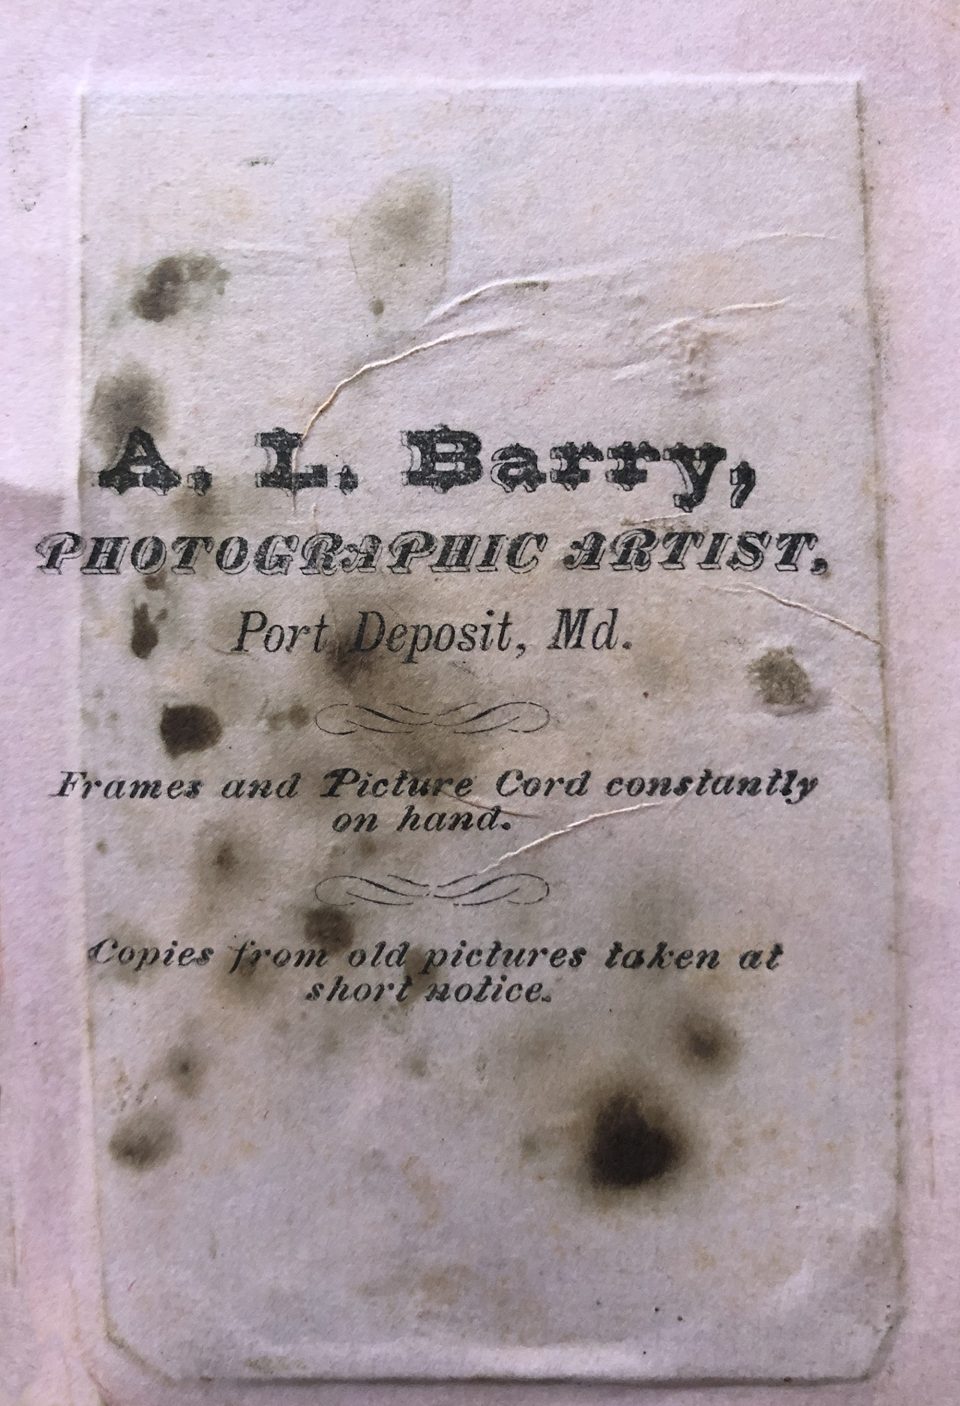
Starting in 1858, Gem Ferrotypes allowed creation of multiple small duplicates on a single sheet of larger metal thanks to the invention of a multiple lens camera. The sitter was projected multiple times in one single exposure. This would then be cut down to provide a set of small duplicates very affordably. Gem Ferrotypes were about the size of a postage stamp. They were popular for lockets and broaches, but also were often sold in small paper inserts that acted as a decorative mat. These are useful today for identifying the photographer because they sometimes had the photographer’s information printed on the back. Although one article claimed that fewer than 20% of photographers actually published their names on the cards. (X)
Some tintypes were also sold in decorative frames, like those used for ambrotypes and daguerreotypes. One article said that loose Gem Ferrotypes were sold for ten cents a dozen. Gems sold in paper mats were fifty cents a dozen. Framed photographs would have been more.
I recently disassembled the case from a dusty old tintype in my collection to clean the glass, and I discovered on the paper backing inside the case written in pencil the price of $1.00. I can only assume that was the cost of the case.
Tintypes sold for prices averaging from 25 cents to $2.50 in the United States. Some photographers charged as much as $20.00 for a sixth-plate portrait.
Cased images typically include the image plate and a cover glass wrapped together in a brass mat, placed inside of a leather or thermoplastic case. (LOC)
Tintypes were quite often hand tinted, with the photographer carefully applying a blush of red to the sitter’s cheeks. This was done to both men and women — and the most bizarre use of this I ever saw was on a death photo made of Civil War guerilla fighter Bloody Bill Anderson. After his death in a bloody gunfight with Union troops in Missouri, he was propped up on a board and photographed, clutching his pistol, eyes closed with a grisly grimacing smile on his face. For some inexplicable reason, the photographer added a rosy tint to the cheeks of a corpse, and also colored some flower patterns on his shirt.
Tintypes were sold in sizes related to the size of the metal plate. According to the Library of Congress, the common plate sizes were as follows …
- Imperial or Mammoth Plate – Larger than 6.5 x 8.5 inches
- Whole Plate – 6.5 x 8.5 inches
- Half Plate – 4.25 x 5.5 inches
- Quarter Plate – 3.25 x 4.25 inches
- Sixth Plate – 2.75 x 3.25 inches
- Ninth Plate – 2 x 2.5 inches
- Sixteenth Plate – 1.5 x 1.75 inches
To see some of the tintypes I have in my collection, you can go to an article on my blog at I Catch Shadows dot Com where I’ll have a lot of high resolution photographs. I’ll include a link in the write-up, or just search tintype.
OK we’ve discussed a little bit about tintypes, so now let’s get into the process.
How were tintypes made?
I’ll offer a high-level description of this process to give you an idea what’s involved. This is by no means meant to be a true guide to making tintypes. I used as a reference a great article from MasterClass. I’ll include the link in the write-up.
Tintype is a wet collodion process, but instead of imaging a glass negative, the photograph was exposed onto a thin sheet of black-lacquered iron. Just as with Ambrotypes, the finished photographic image would be light against the dark background of the black lacquer.
The wet collodion emulsion would be applied to the plate, which was then inserted into a dark slide, which then was slipped into the back of the camera. The exposure was made while still wet, then immediately returned to the darkroom for development. Development is halted with a bath of water, and then the image is fixed. In the old days, fixing was done with a very toxic chemical called Potassium Cyanide, but modern tintype artists use Sodium Thiosulfate. After drying, the final tintype can then be sealed with a coat of varnish.
I have an old tintype in my collection with huge runny drips of varnish dried onto the back of the plate.
Here’s the mind-bending part about the process for me. When you expose a tintype, you’re making a negative, just like the glass plate negatives made in the wet plate collodion process. It’s the same process. But for tintypes, the negative is severely underexposed. That means the darker areas of the negative are transparent and show through as dark on the black lacquer. The lighter parts of the negative are so light as to appear as highlights against the black lacquer. Overall, tintypes are more gray in the highlights than other types of photographs — it’s part of their distinctive appearance.
Another thing to realize is that like all direct-to-plate images, most tintypes are backwards or reversed. I said most because there were some cameras that used a mirror to correct the reversed image problem.
In a 2012 video on Adam Savage’s Tested Channel on YouTube, Michael Shindler of Photobooth SF, said that TinTypes are blue sensitive, and also that they are extremely slow. Whereas a sheet of modern film might have an ISO of 100 or 400, a tintype is more in the range of an ISO less than 1 — maybe ISO .75.
In that video, Shindler demonstrated his process — first pouring the collodion onto the blackened plate — he happens to use 4 x 5 sheets of aluminum from a trophy supply house — you know the kind where your name gets engraved for winning at golf or softball or whatever.
Anyways he poured on the collodion — which is liquid nitro cellulose containing two salts: cadmium bromide and ammonium iodide.
Then he dunked the plate into a sensitizing tank of silver nitrate, where the salts react and formulate the light sensitive emulsion on the surface of the plate. That takes about four minutes in the bath. After four minutes in the sensitizing bath, Shindler placed the wet plate into a modified 4 x 5 dark slide that was designed to hold sheet film. He altered the slide to allow it to hold the metal plate.
The dark slide was then placed into the camera where the sitter was flashed with a very bright light, and the dark slide was then returned to the dark room for immediate development. Shindler held the plate in his hand while pouring the developer directly on the exposed surface, just as he did with the collodion earlier. I’ve seen others simply drop the exposed plate into a tray of developer.
Development occurs very quickly, within a few seconds. The plate is rinsed in water to stop development, and at this point, the plate is no longer light sensitive, and it can be examined in room light. Shindler’s sample plate in the video looked peculiar because it hasn’t been fixed yet, and the fixing process helps transform the tintype into its final appearance by removing all the undeveloped silver salts.
Then the plate is allowed to dry, While Shindler didn’t mention varnish, in the old days, tintypes were often varnished.
By the way, as I said before, that video was made in 2012. Back then you could walk into Shindler’s studio and in 20 minutes walk away with a one-of-a-kind 4×5 tintype portrait of yourself for $60. What a deal. Unfortunately Photobooth SF closed in 2014.
Contemporary photographer Victoria Will is well-known for her tintype portraits of celebrities. She published a book of those portraits called Borne Back, on the Peanut Books imprint. I’m not a big fan of celebrity portraits myself, but the tintype process does make compelling portraits of attractive people who certainly know how to own a camera lens.
I think the thing that makes tintypes and other wet plate collodion processes so interesting is the unpredictable nature of the outcome. In a digital world, the process retains a feeling of unpredictability. The antique lenses are sharp on the eyes and fall rapidly out of focus for the rest of the images. The uneven, swirly edges add an artistic sensibility. Tintypes are just slightly beyond the control of the photographer.
And of course, each photograph is a one-of-a-kind individual print. That makes them special and rare, and in the age of endless perfect digital reproductions, that’s worth something.When I look at the 145 year old tintype portraits in my collection, I realize this may be the only existing image from that person’s entire life.
That’s all I’ve got for this episode. Thanks for listening. I’ll talk to you again real soon.
Sources and Links
Adam Savage’s Tested Channel on YouTube
Library of Congress, “Ambrotypes and Tintypes”
Masterclass, “Learn How to Make Tintype Photos at Home”
The Gem & Carte de Visite Tintype
Discover more from Shadows and Light
Subscribe to get the latest posts sent to your email.