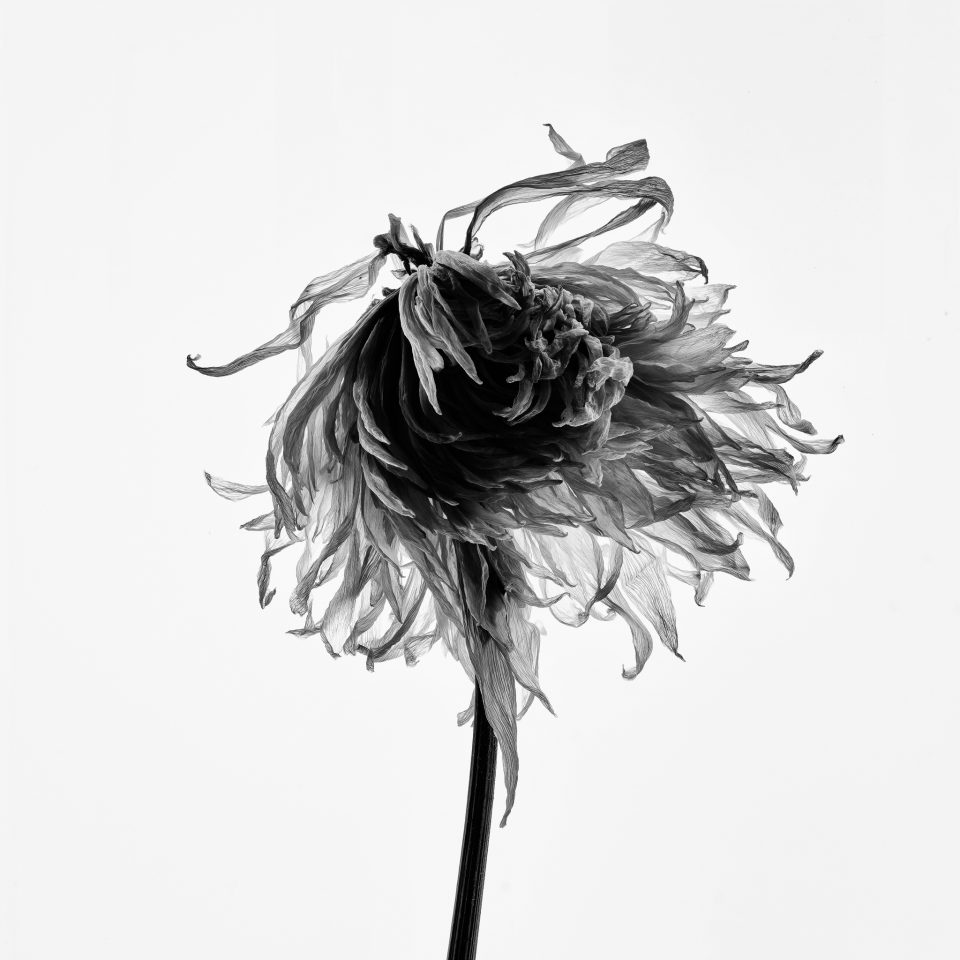
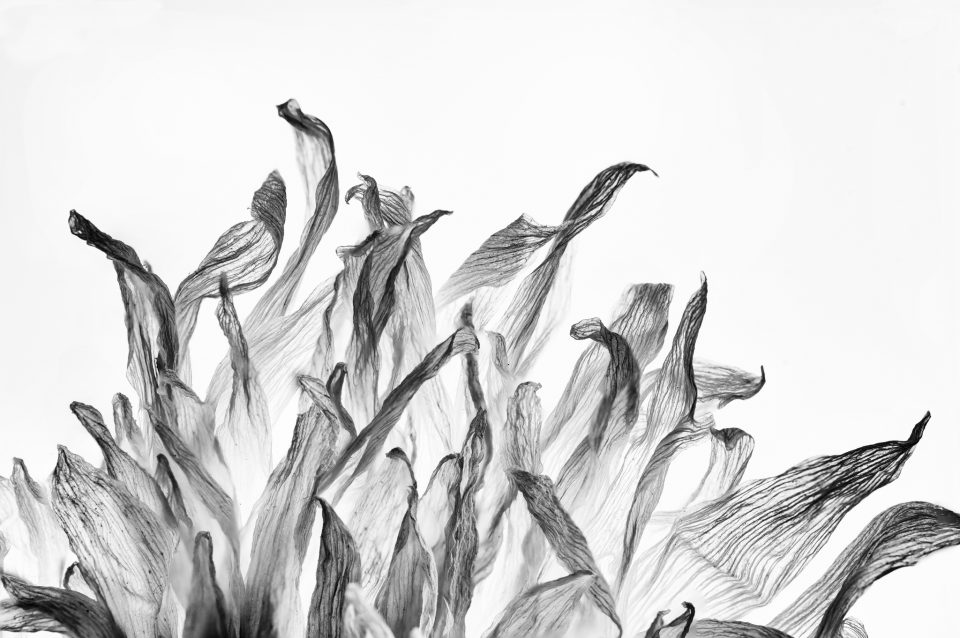
Here’s a quick explanation of how I shot these new fine art ‘dead flower’ macros
It may seem strange, but one of the most popular pages on my main portfolio website is my collection of dead flower photographs. I love them because of the evocative decay and the rich textures and shapes, but they seem to resonate with a lot of people.
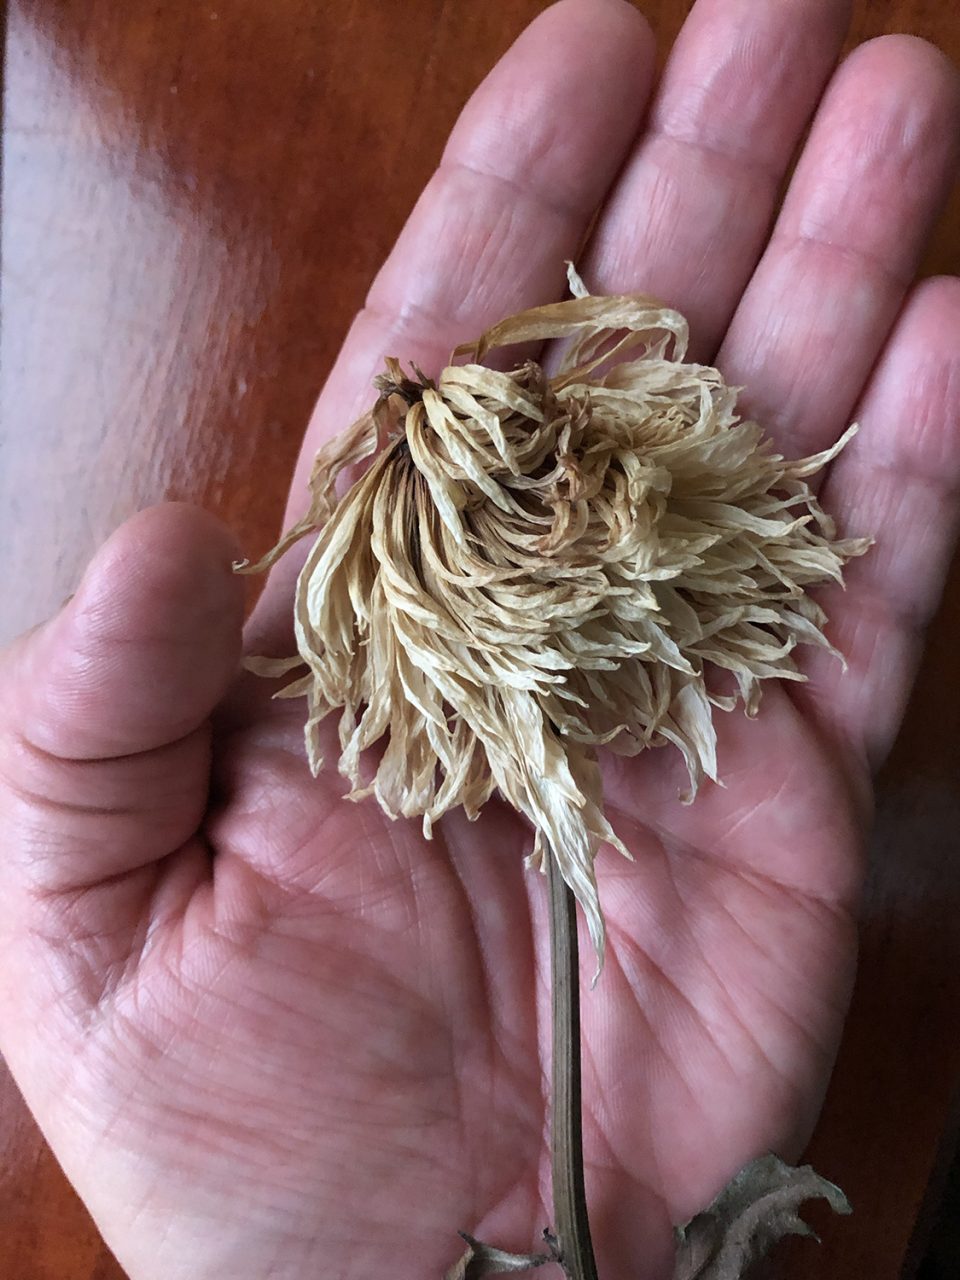
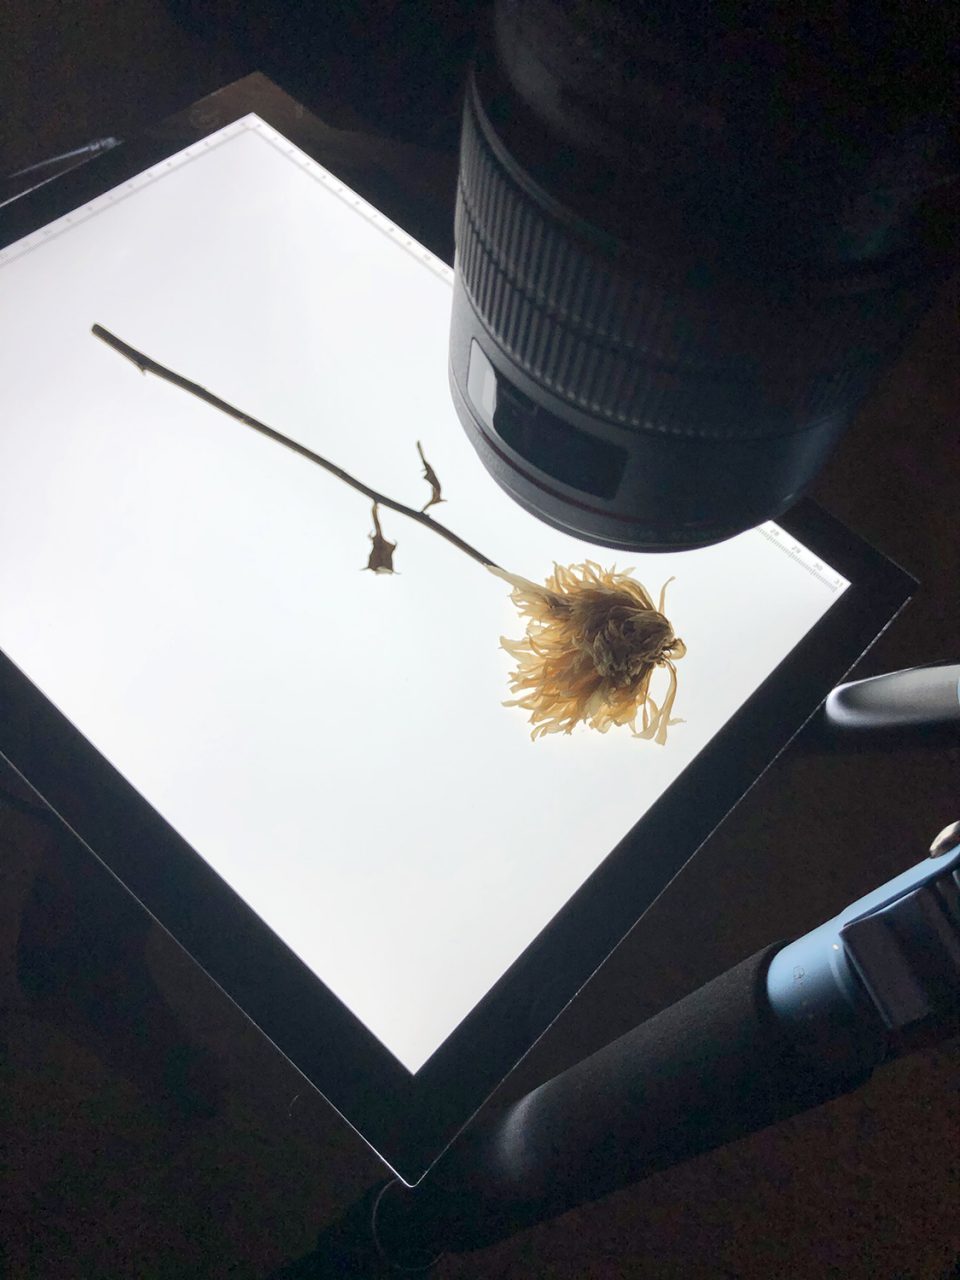
Below are illustrations and descriptions of how I shot these detailed macro photographs.
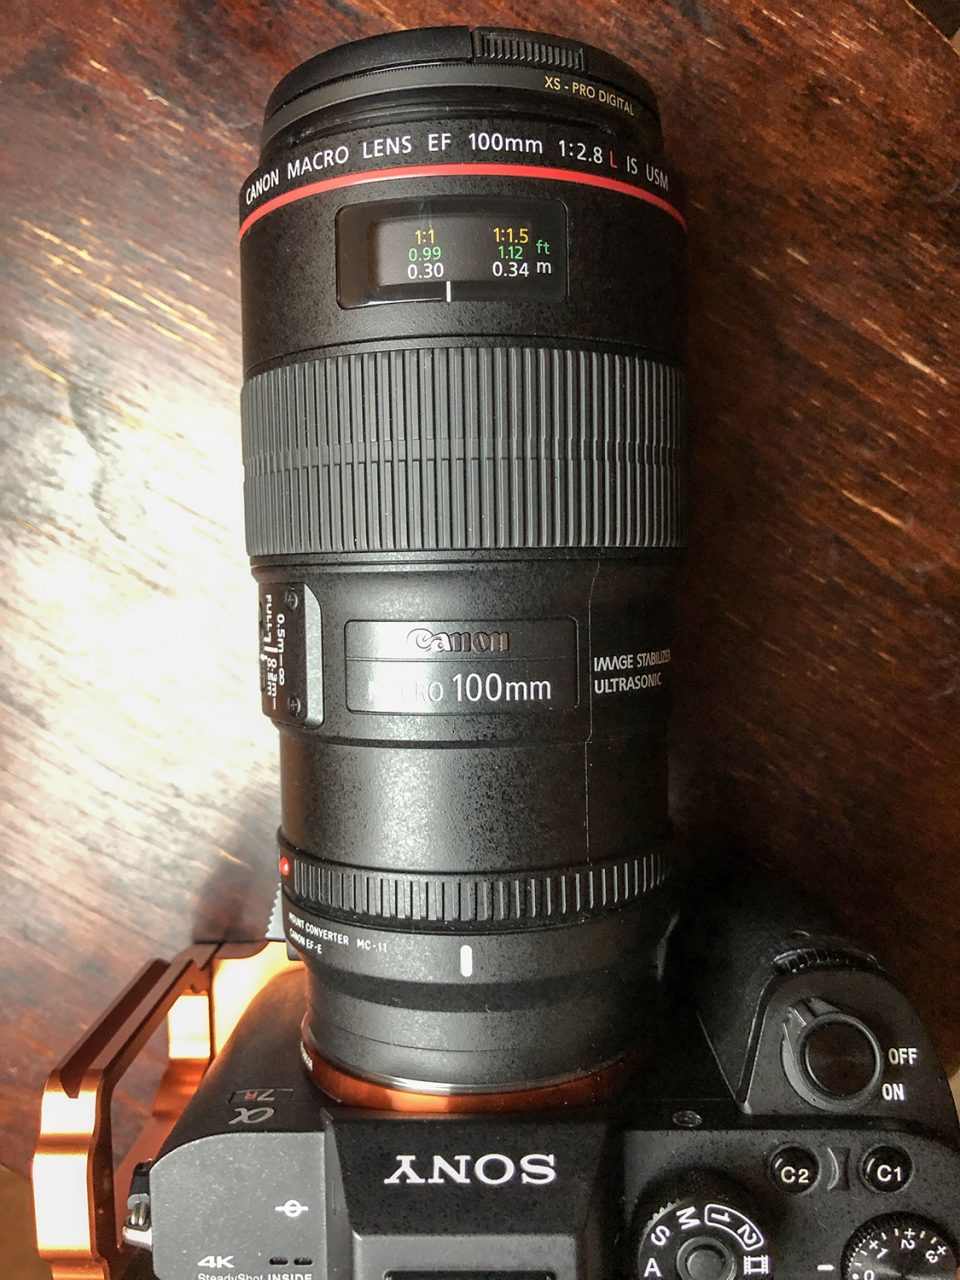
The camera gear
I used a pro-grade 100mm L-lens, but Canon has a top-notch consumer grade 100mm lens that’s much lower cost. Any macro lens will work.
Focus stacking
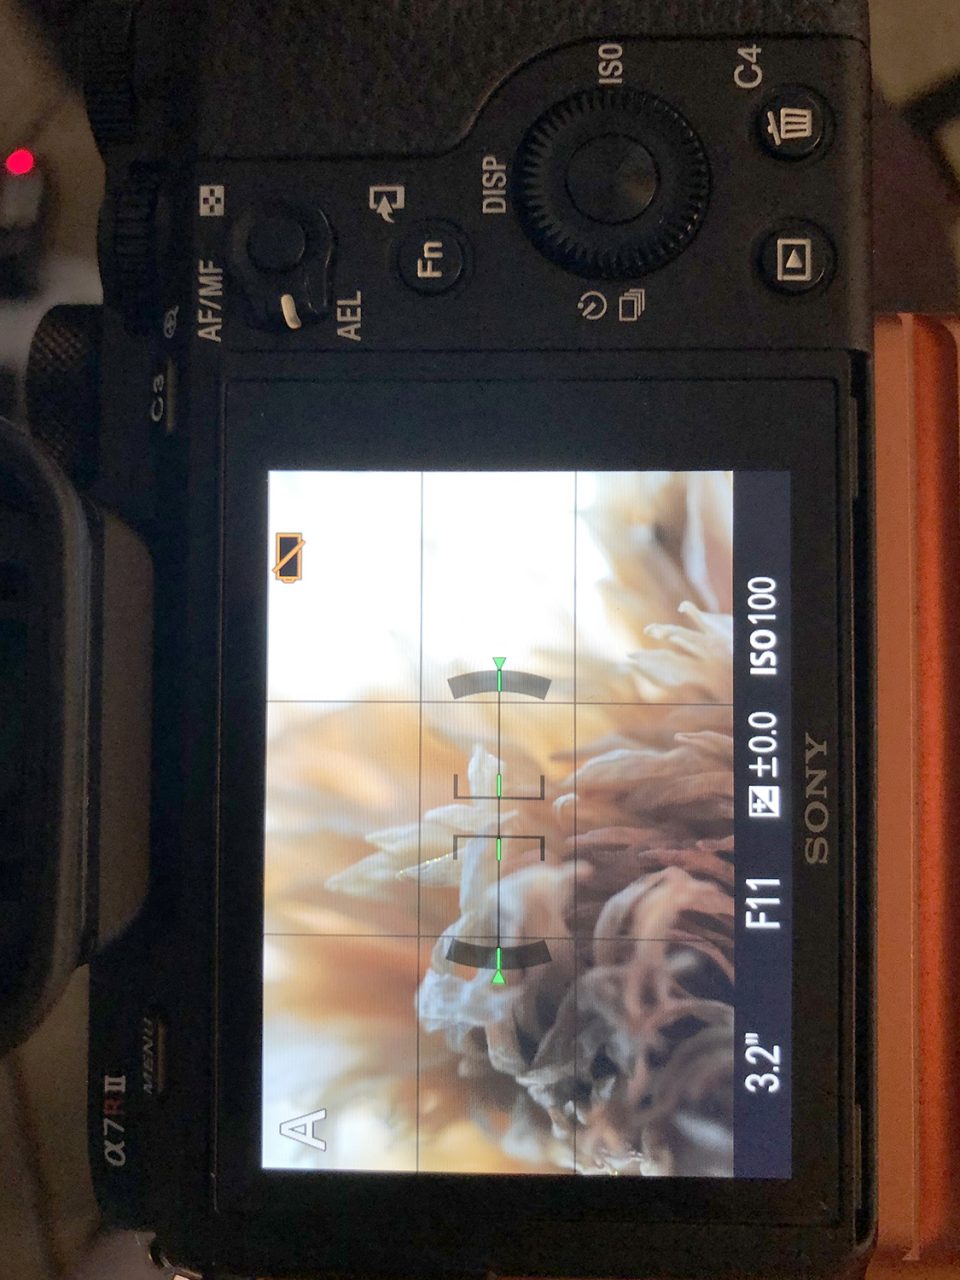
As you can see by the image on the back of the camera below, it’s impossible to get the entire blossom into focus at this short distance from the subject. I used a very sharp aperture of f.11, and focused on various areas of the blossom in a series of 6 individual shots. Then, I layered the 6 shots into Photoshop, where I focus stacked them and merged them into a single image.
About the backlight
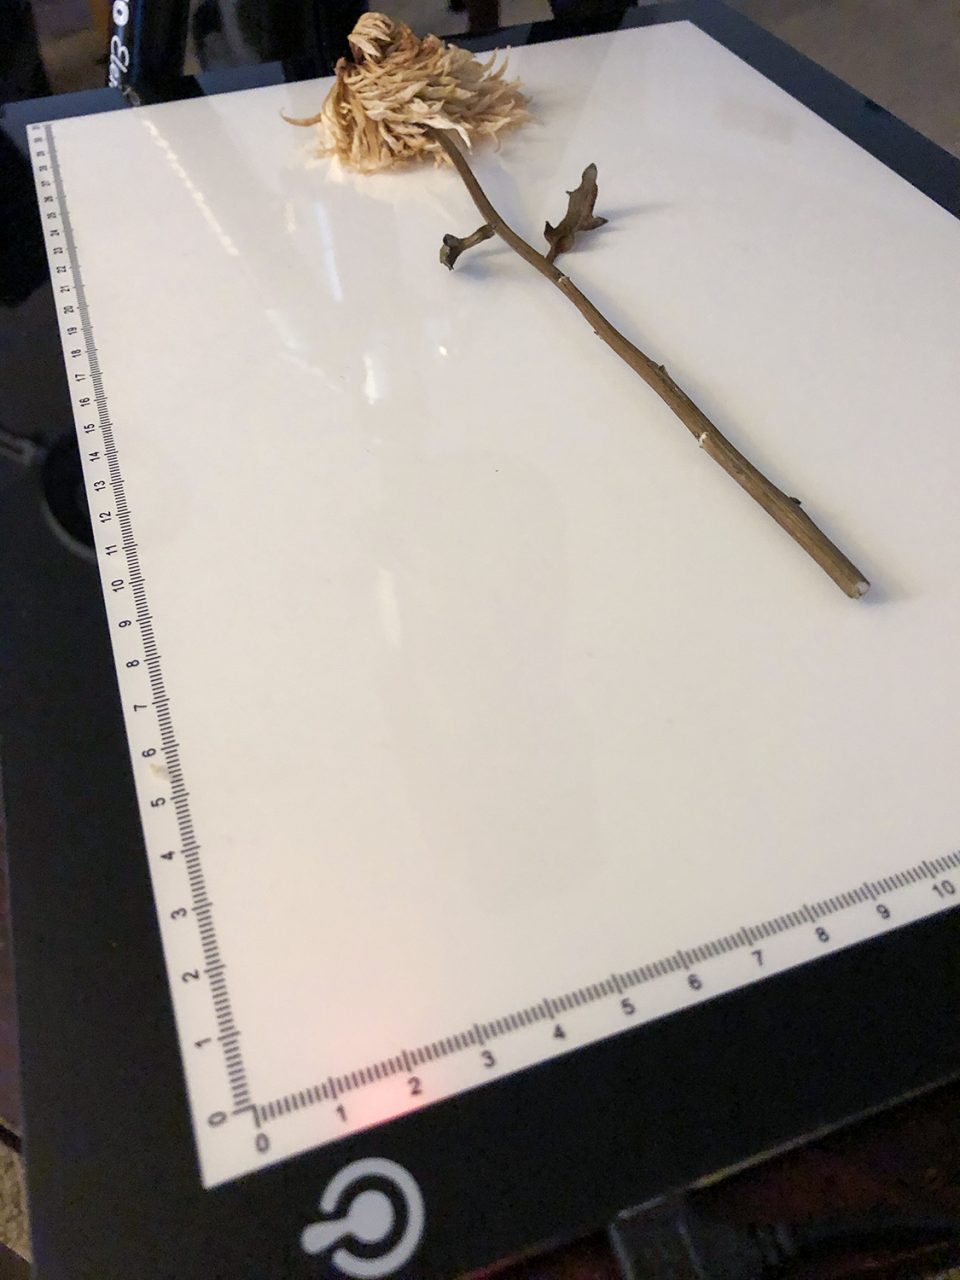
For the backlight, I used a very affordable LED backlight panel that I found on Amazon. This one is bright, easy to use, and affordable at under $25 (at the time of this writing). If you need one, take a look at the link below.
ME456 A4 LED Light Box 9×12 Inch Light Pad Only 5mm Ultra-Thin USB Power Light Table for Tracing
NOTE: This post contains an Amazon Affiliate link. I may earn a small commission on qualifying purchases.
Thanks for reading.
Be sure to visit me on Facebook, Instagram or Pinterest, or on my website at keithdotson.com.
~ Keith

Thank you for sharing this fascinating process! I had often wondered how to do things like this – opting for scanners and light boxes, but no knowledge of the post processing that really is the magnificent end result you get here.